blender 2.80 experiment 7 - keyframes
This blender experiment is based on the curve generation python script from my erlier post - Ths time I added keyframes to the locations of the bezier curve vertices and their handles.
Keyframing a curve vertex from a python script is pretty simple. All that is required is calling the keyframe_insert method on the point object and specifing the path to the attribute that should be keyframed.
For example
b.bezier_points[i].co = (1,1,1)
    b.bezier_points[i].keyframe_insert(data_path='co')
inserts a new keyframe for the position of a curve vertex at the current frame of the scene.
to change the frame i used
bpy.context.scene.frame_set(framenumber)
you can download the blend file here
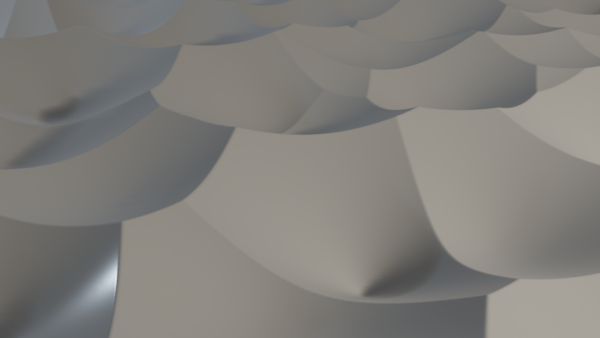
blender 2.80 experiment 6 - fresnell
for this blender experiment I started to experiment with node based materials for eevee. I used a fresnell input node to blend between two diffuse shaders. The mesh is a subdivided cube with a displacement texture.
you can download the blend file here

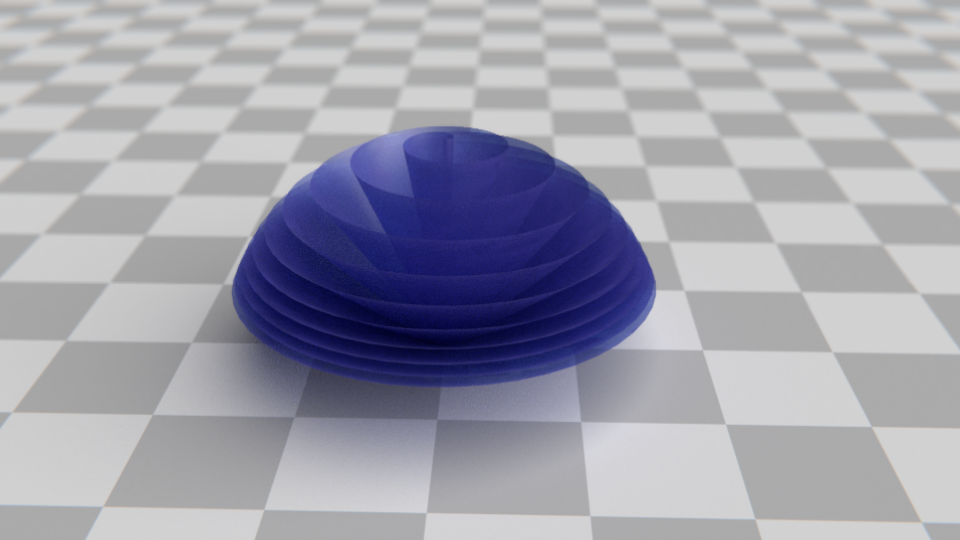
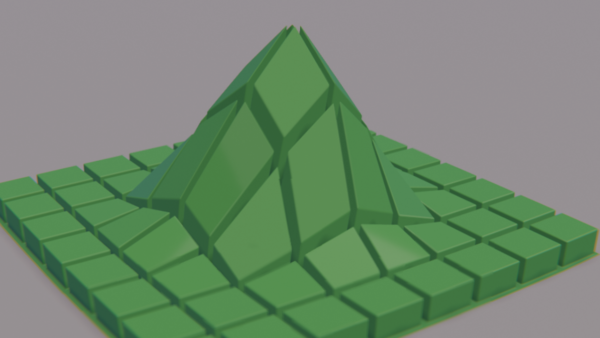
blender 2.80 experiment 5 - scripted curve
For this blender 2.80 experiment I created four bezier curves using the blender python api. There have been some changes in the api, but porting existing python scripts to 2.80 is pretty easy - the main changes required for older code to run is how the objects get added to the scenes, because of the new collections in blender 2.80
you can download the blend file here
to run a python script open a texteditor and run a script with ALT-p
read more ...blender 2.80 experiment 4 - vertex hook
For this animation I wanted to use the modeling tool a little bit - so I subdivided a plane, inset the faces and extruded them. Then I selected the top faces of my object and hooked them to a empty, so I can control them in an amiation.
It took me some time to figure out how to navigate the new menues and where to find things, but I still think the new menues make a lot more sense than the blender 2.79 ones once you get used to them
The animation was again created by keyframing the location, rotation and scale values of the control empty.
you can download the blend file here
For this animation I used the blender compositor in combination with eevee for the first time. I like the dof effect created in the compositor better than the dof settings you can create in the eevee render settings panel - but that is my personal preference you can get decent results with both of them.
read more ...blender 2.80 experiment 3 - displacement
for my third blender experiment I used a displacement modifier with a voronoi texture on a subdivided plane. The displacement modifier is controlled by a keyframed empty to make the texture move and change.
you can download the blend file here
I'm still not satisfied the shadows created by eevee - a decent shadow setup seems to be more complicated than i expected it to be - especially when animating things. Will have to do some more experiments on this
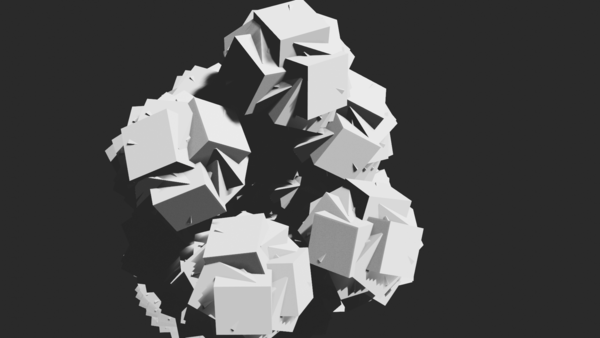
read more ...blender 2.80 experiment 2 - array modifier
For this blender experiment I used two array modifiers applied to a default cube - one that shifts the cube along the x-axis and one that shifts the array of cubes from the first modifier to the y-axis. Both are controlled by an empty.
I then keyframed the rotaion and location of the keyframes to create moving and swirling boxes - lots of them :-)
I wanted to see how well eevee can handle overlapping objects, since bi and cycles had some wired artefacts when faces overlapped in the beginning - but eevee seems to be fine with them. But again - rendering scenes with lots of objects make things pretty slow.
you can download the blend file here
What surpriced me a bit is the new timeline - you select a frame by right-clicking - whicht is kind of funny - the only object where you could select things with the left mousebutton in blender 2.79 now uses the right button :-)
Other than that i really like the new ui - it's much more consistent and I start getting used to the new icons.
read more ...blender 2.80 experiment 1 - particles
Blender 2.80 beta has been released! yea! party!
ok - for real now - blender 2.80 is the next big release of blender, 3 years in the making and packed with new features, a new render engine, support for 2D animations, a new ui, ... lots of new stuff to learn and explore
So I started a new series of "blender experiments" this time featuring blender 2.80
I will explore and test various new features and create 10s animations for each one and blog my findings, what I like or don't like about it, how easy it was to use and so on.
If you have any suggestions or want me to try things add a comment below
The first new feature I want to explore, is the new rendering engine eevee which replaced the blender internal engine - and I'm obviously going to explore the new UI - would be hard to create eevee animations without using the new UI :-)
I really like particle systems and used them a lot sooooo its a pretty obvius choice for me to use as my first blender experiment using eevee. And here i present you my first particle system animation rendered with EEVEE
you can download the blend file here
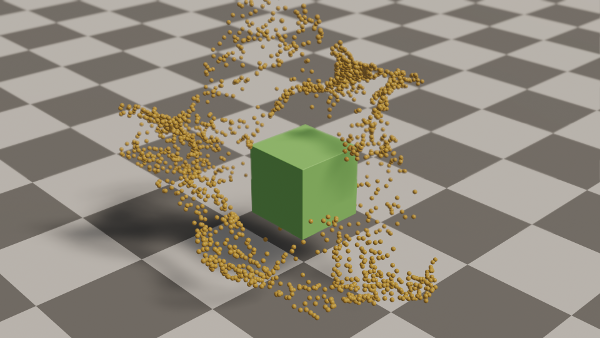
Selecting things with the left mouse-button was easier to adjust to than I expected, and most of the keyboard shortcuts I normally used in blender 2.7x still work so I was pretty fast in clicking together the animation - what surpriced me a bit was how long it took eevee to render my animation on my machine - eevee doesn't seem to like scenes with lots of objects and starts to get really slow. I also need to do some more research on shadows - they don't quite behave like I expected them.
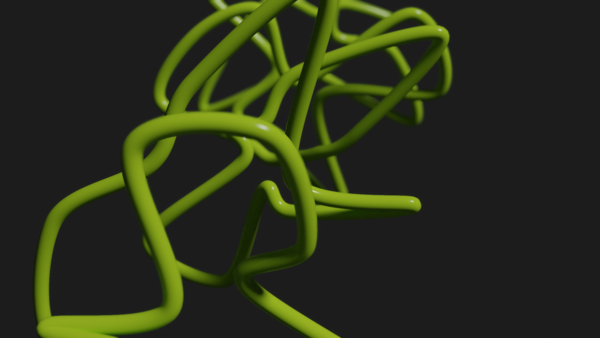
read more ...multiple animated L-Systems using the Animation-Nodes-Addon in Blender
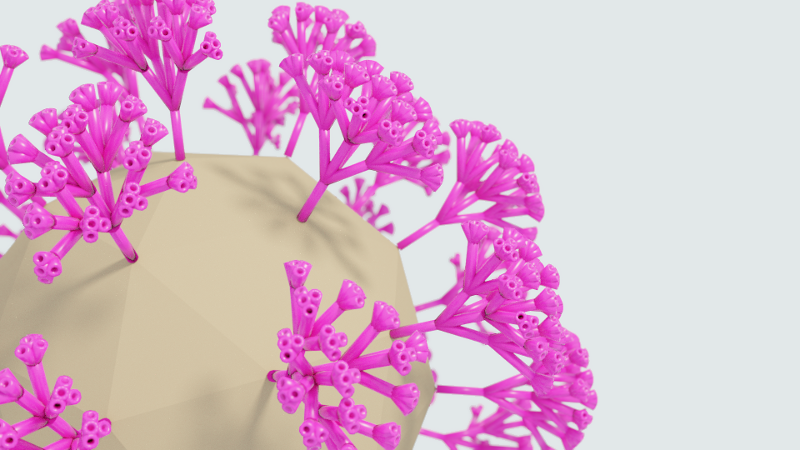
For this animation I used a separate l-system for every vertex in an icosphere to grow a treelike structure and animated their repetition count
you can download the blend file here
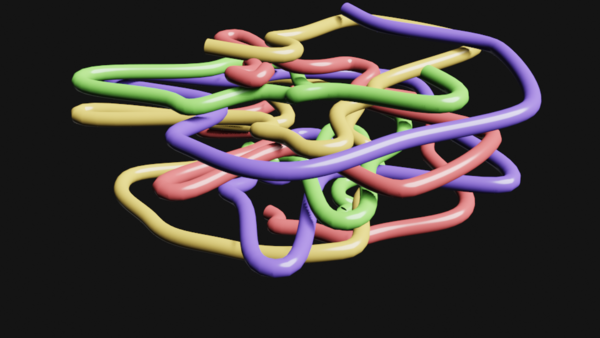
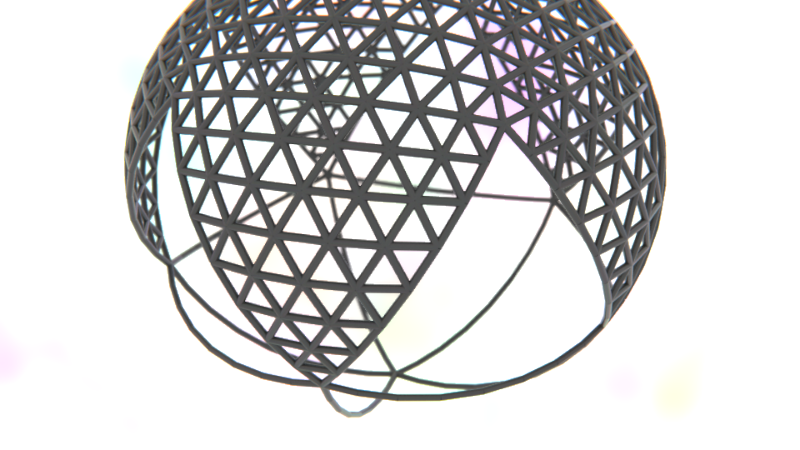
animated mesh of an icosphere
I created a set of splines using the animation nodes vertices-to-spline node and then animated it with a builder modifier in blender
you can download the blend file here
AN Experiment 2018 Test 13 - create mesh
For this animation node experiment I created a mesh from scratch only using Nodes. I made a spiral of vertices and projected them onto a sphere. I animated the length of the curve and the radius unsing AnimateFloat-Nodes. Then I added lists of edge- and face indices interating over the vertex list in some nested loops.
you can download the blend file here