DIY Zynthian flower housing
I finished my final version of the Zynthian housing! I went for a spring-theme and spraypainted the housing in green and the lid black to give it a little bit of contrast. And since I start to get wired ideas from all the home office, pandemic isolation, video conferences, and whatnot I also added little flowers. Because why not :-)
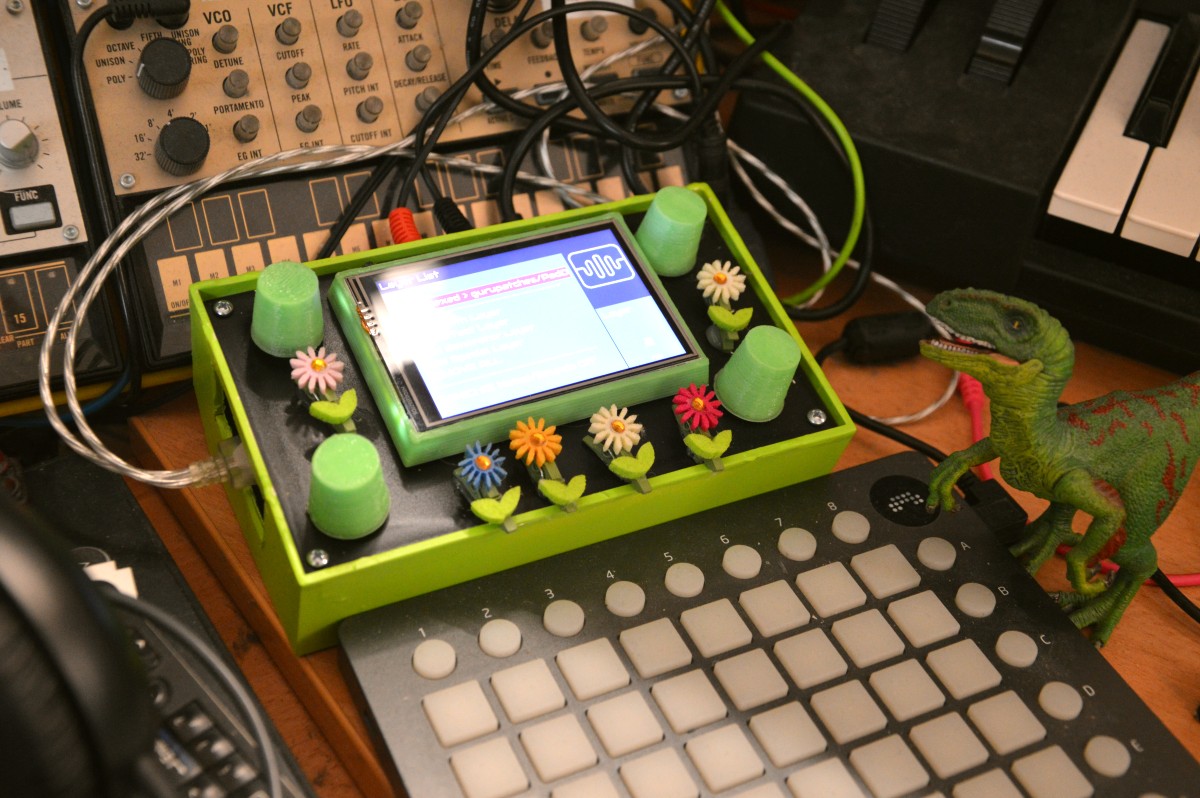
The hardware is done now - onward to the software adventures! I already started playing with the sample packs that are part of the zynthian project and the dexed lv2 synth - but i still have "adding pd and supercollider patches" on my my todo list.
I also plan to record a video and post some sound demos on soundcloud soon.
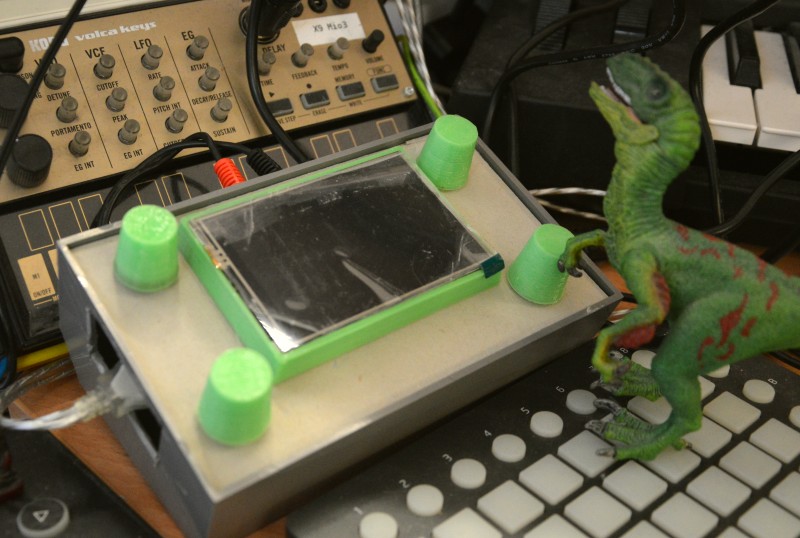
read more ...DIY Zynthian housing prototype part II
I created a new cardboard prototype for my zynthian. This time dino is much more satisfied with the button placement and he also likes the color of the buttons and the bezel :-)
I think this will be the version I drill into the metal front of the housing. Now I need to think about the artwork and a custom color theme for the software to match my buttons
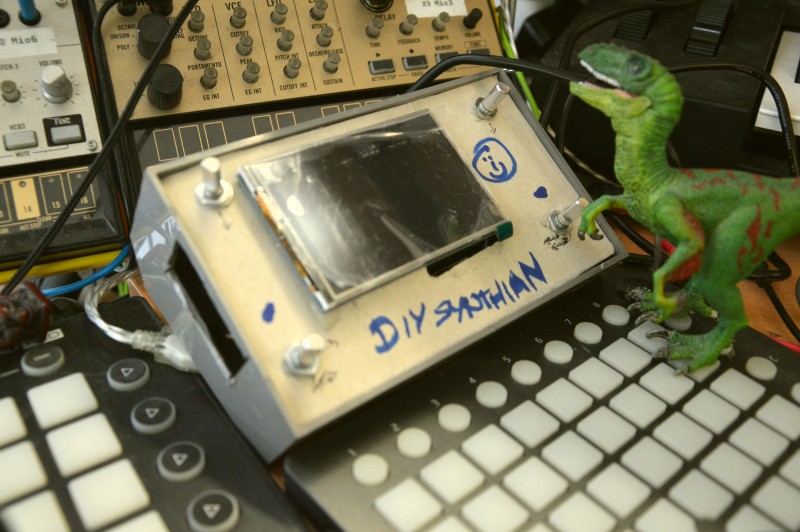
DIY Zynthian housing prototype
I started creating a housing for my diy zynthian - the front panel is currently made of cardboard to allow me to experiment a little bit with the placement of the various components. Dino isn't yet 100% satisfied with the placement of the rotary encoders and I think I will need to 3D print a bezel for my display.
also the artwork on the frontpanel needs to be reworked a little bit :-)
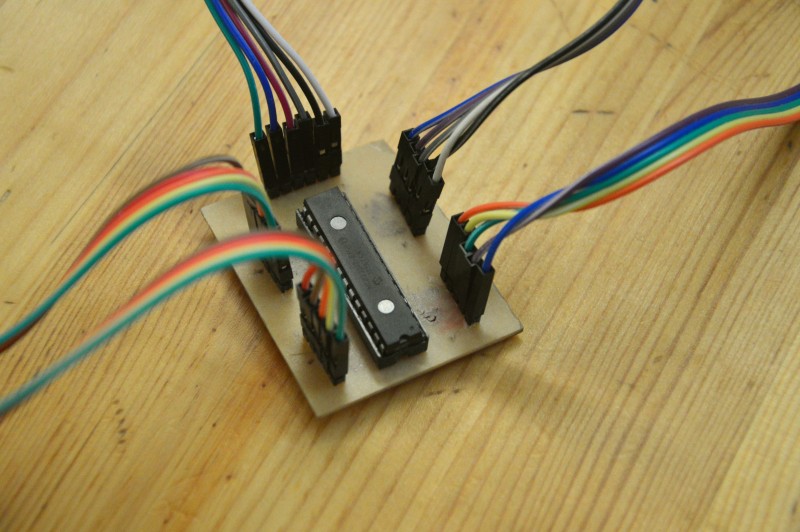
DIY Zynthian rotary encoder conntroller board
This weekend I finished my self made controller port for the rotary encoders of my DIY zynthian.
I drilled 54 holes, killed one drillbit in the process and learned that a 0.5mm drill bit is to small for soldering pin headers (hint you need 1.2mm for that) then I soldered all the headers and the chip socket, installed the chip - tested all the connections - fixed the broken traces and removed all the solder bridges I created by accident
hooked it up to my pi - and learned that I didn't remove all the solder bridges :-/ so I shortened my 5v and gnd lines on the pi and killed it in the process :-/
But fortunately I had another spare pi - and after some resoldering replacing of components and my pi I finally managed to get the board working and all the rotary encoders work.
First selfmade PCB
I created my very first self made PCB!
I designed a custom board for my zynthian i2c-ioexpander to connect the rotary encoders to it. I designed the board in Kicad, which is a tool I'm absolutely not familiar with and I have the feeling that it will take me some time to understand at least a little bit of what I'm actually doning.
Then I transferred the exported board design to a copper layer and etched it using Fe-III-Chloride. What surprised me during the process was, that the hardest part in the whole process was transferring the designs to the board.
For my first try I used glossy photo paper I had laying around - which wasn't really suited for the task, because I learned that it is apparently coated with a plastic layer. My Iron didn't like that, and my attempts to clean it resulted in a burnt finger :-/
my next few tries failed because when cutting the board into the right size some copper pieces bend upwards and stopped the paper I printed the designs on to lay flat on the copper
then I destroyed one or two tries by being to impatient and using to cold water to dissolve the paper
but on try number 6 I finally managed to get a decent toner transfer and etched the board. Which worked way better than I expected - after a few minutes etching and rubbing it with a sponge the board looked pretty nice.
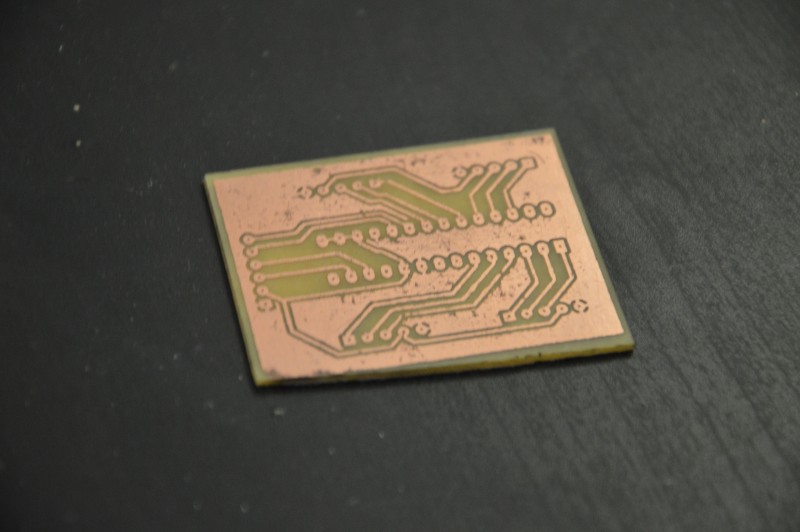
Now I need to drill 54 holes without messing up, solder the pin headers and a chip-socket without making mistakes and if I made no errors in my initial kicad-designs everything should work
lets see how this turns out - what could possibly go wrong? :-)
read more ...Volca Beat Snare Mod
After considering it for ages I finally dared to mod my volca beat and solder a capacitor on the (in)famous C78 solder point, to fix the snare sound.
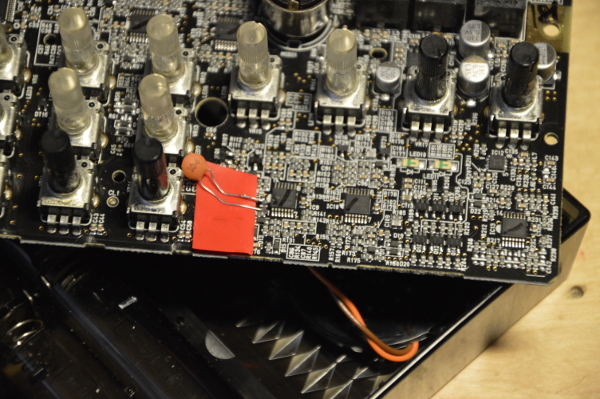
The solder pads are REALLY tiny and solding smd stuff is WAAAAY outside my comfort-zone, but it was totaly worth it. The snare sounds a lot more 808-ty and I really like it.
Unfortunately I forgot to shorten the wires on the capacitor as you can see in the photo, so I used a bit of tape to prevent the wires from shorting something on the board (and I will absolutely not unsolder and resolder it :-) )
A detailed description how to mod the volca beat can be found on hackaday at
https://hackaday.io/project/9863-korg-volca-beats-2-standart-mods
read more ...