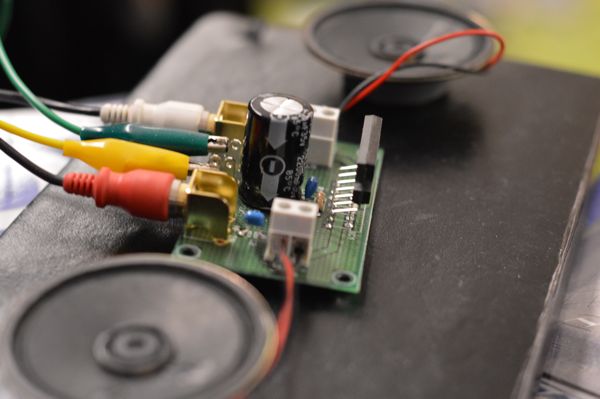
Day 27 of 30daysofcreativity - testing the amp module
Today I tested the amplifier module for the raspberry pi based radio. Now I need to write the software for controlling the radio using the buttons and create circuit boards for the modules that live currently on breadboards
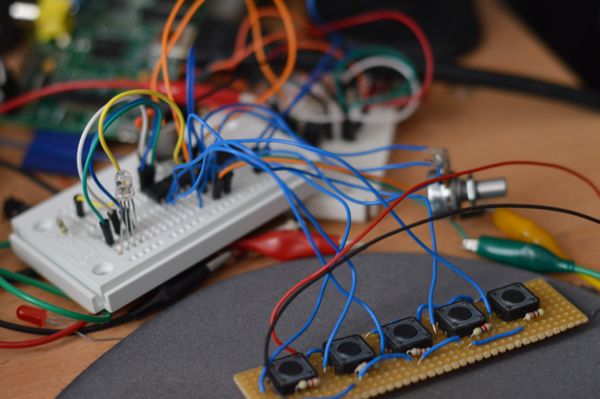
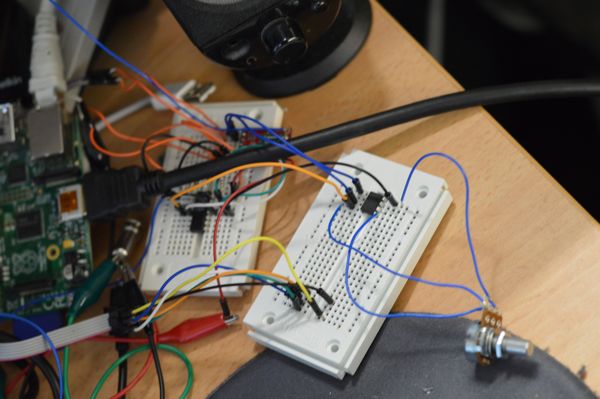
Day 26 of 30DaysOfCreativity - prototyping the controls
Today I hooked up the RGB led, the buttons and the potentionmeter to my breadboard arduino. I run the ATMega328P with a 20Mhz crystal and 3.3V which works pretty well. All my problems with I2C stability have disappeared now. The potentiometer is hooked to A0, the buttons are on D9 to D14 and the RGB led is connected to D6, D7 and D8. If the I2C master sends 1,2 or 3 the led color is changed, otherwise the slave sends the value of the potentiometer and the state of the buttons.
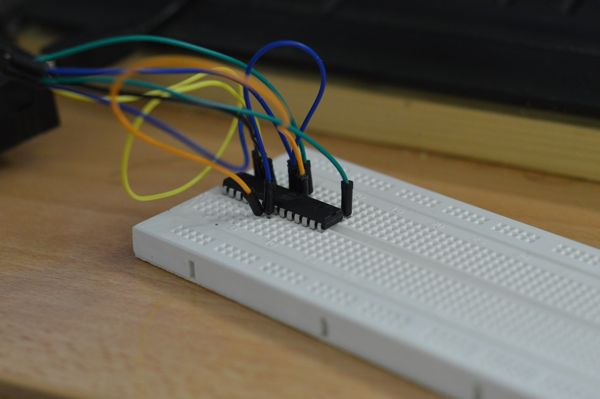
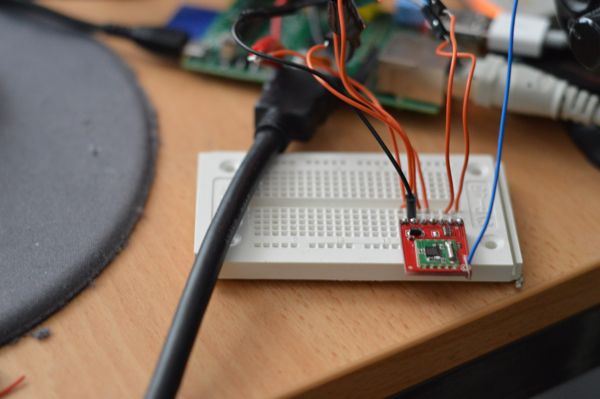
Day 24 of 30DaysOfCreativity - a breadboard arduino
Originally I planned to interface the hardware of the blaupunkt car radio from the 60ties using an attiny85 and an attiny2313 talking to the raspberry pi via i2c. But unfortunately this setup seems to be very unstable at the moment and I can´t get the i2c slaves to work properly. So I build a breadboard arduino today. I will try to hook the buttons, RGB-leds and the variable resistor and add a new i2c interface tomorrow.
So I have a Raspberry PI, an Arduino, some 3D printed parts, custom electronics, an interface to Apple iDevices, a retro car radio housing, .... hmmmmmmmm - Have I forgotten something?
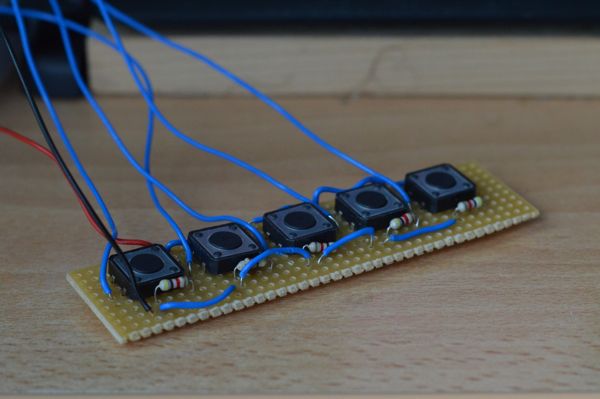
Day 23 of 30DaysOfCreativity - Buttons for the raspbery car radio
Today I soldered a board to interface the push buttons of the blaupunkt car radio that gets a new raspberry pi based brain. I tested the buttons with an arduino which worked very well. Then I tried to replace the arduino with an attiny2313 running the arduino-core firmware and the TinyWireS library, but unfortunately the setup is very instable - will have to debug this tomorrow
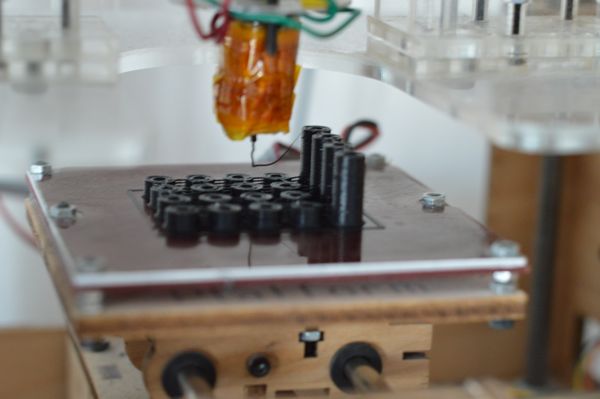
Day 21 of 30daysOfCreativity - 3D printed spacers
I'm currently placing a raspberry pi and an AR1010 based radio chip into the housing of a blaupunkt car radio from the 60ties for my friends VW typ 3 wilson. To mount the electronic parts I printed a bunch of spacers which I created using openscad.
you can download the openscad file here or the stl file here
Day 19 of 30DaysOfCreativity - RGB led for the Raspberry PI based Radio
Today I worked on the RGB led that is going to replace the small lamp that lights the display of my rapspberry pi based car radio for cheri´s VW type 3 wilson
I used an attiny 2313 to control the led. I will interface the microcontroller with I2C and connect the 5 buttons tomorrow
this is my day 19 project for 30daysOfCreativity

Day 18 of 30daysOfCreativity - Reading analog values on a PI using an ATTiny45
For my Raspberry PI based car-radio that lives in the housing of a blaupunkt radio from the sixties I needed to interface a variable resistor from my pi. Unfortunately the rapsberry pi has no ADC for the GPIO pins so I added a small ATTiny running the arduino-tiny firmware to read the analog values. The ATTiny is programmed as a I2C slave and is accessed in the same way as the radio part of the project.
you can find a tutorial on how to install and run the arduino-tiny firmware here
and you can find the I2C slave library for the attiny chips here
this is my day 18 project for 30daysofcreativity
Day 13 of 30DaysOfCreativity - Radio PI part 5
Today I started working on the radio part of the raspberry pi radio. I hooked up an AR1010 based breakout board from sparkfun to the i2c ports of the raspberry pi and wrote a short python program to initialize the chip and tune it to a radio station.
It took me a while to figure out how to access the chip and after searching through tons of tutorials example-code and a really really really extremely bad datasheet I finally managed to get my code running.
The main reason why it didn´t work in the beginning was that I didn´t recognize that the smbus library sends long values in LSB,MSB order while the AR1010 wants them in MSB,LSB order :-/. Who would have thought that the littleendian/bigendian thing still exists in 2013
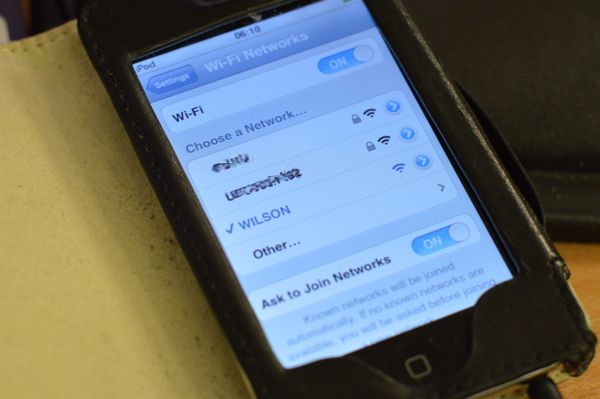
Day 11 of 30DaysOfCreativity - Radio PI part 4
Today I managed to get the wlan part of the raspberry pi based car radio for my friends typ 3 wilson working. I used a R8187U based wlan stick from belkin (Belkin N150 WLAN USB-Adapter) and configured an ad-hoc network. I initially intended to create a wlan access point like described here, but I hostapd didn´t want to cooperate :-/
Day 10 of 30DaysOfCreativity - Radio PI part 3
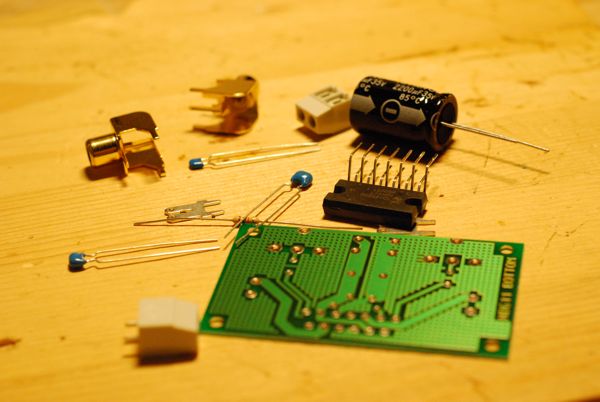
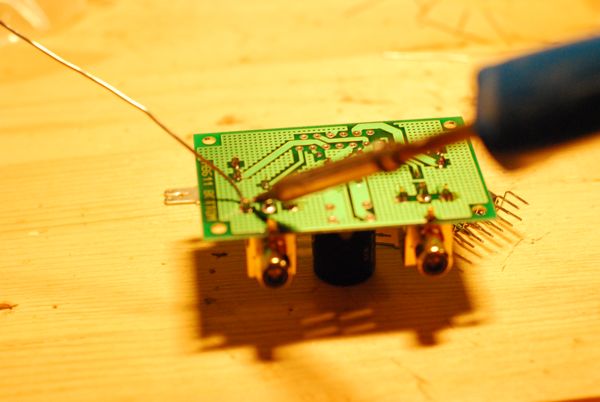
Today I soldered the amplifier module I plan to use in the raspberry pi car radio for my friends typ 3 wilson.
It´s a 2x40 Watt module that can be used with 12 Volts.
This is my Day 10 project for 30daysofcreativity