BookScanner part3 - remote Controll cable
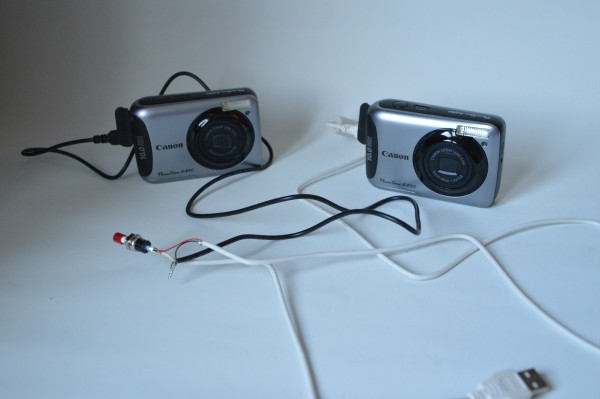
In part2 I installed the alternative chdk-firmware on my Canon A-490 cameras, because they allow to trigger the autofocus and the shutter function by using a USB cable. To Trigger these functions you need a cable that connects and disconnects the +5V line of a USB cable. The Data lines of the cable aren't used.
For my bookscanner I need to take a picture of the right and the left page of the book at the same time so I hooked up two usb-micro connectors to an USB-A connector and added a switch on the +5V cable. I connect the USB-A connector to a wall-plug and every time I press the switch the autofocus starts and a picture is taken when I release it again.
Works like charm. Now I need to create a mount for my cameras so they can be positioned correctly below the pages.
BookScanner Part2 - Cameras
I got two cheap canon A490 point and shoot cameras for my BookScanner.
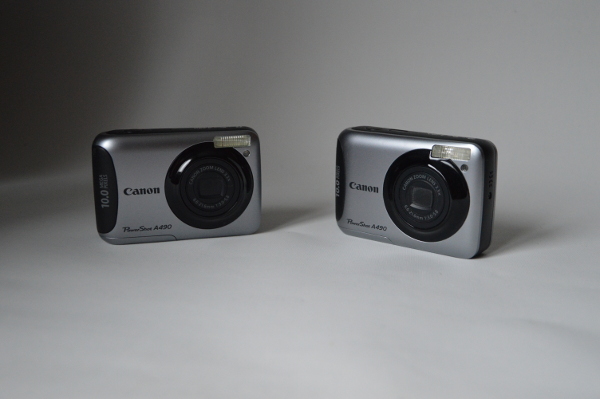
I need to take a picture of the two pages of a book at the same time without touching the cameras, to prevent me from moving them. Unfortunately the cameras don't support a remote control. But I found that there is a nice alternative firmware for the cameras from the chkd project.
This alternative firmware adds a ton of new features and among others allows to execute a Lua script when the USB port gets power. This script then can be used to trigger the autofocus and take a picture. :-)
The installation of the firmware on the camera was pretty simple. Download the package for your camera unzip the package to a SD card and use the update firmware feature of the camera to install it. The chkd firmware starts without modifying the original camera firmware so you can test it without potentially destroying your camera.
In my BookScanner I don' t want to start the firmware manually all the time so I made the SD card booteable. Unfortunately my cameras only boot from the SD card when it is formated as Fat16. This limits the size of the partition to 4G which isn't great but should be sufficient for my BookScanner. To make the cards booteable I formated them as Fat16 and placed the firmware in the root directory. I started the firmware manually and then used the ..... menu to set the boot flag on the partition. Finally the card needs to be put in the read only mode using the little switch on the side. Than the camera loads the alternative firmware automatically when the camera is turned on. The new firmware also ignores the read only flag on the card and stores pictures on them whithout the need to flip the readonly switch again.
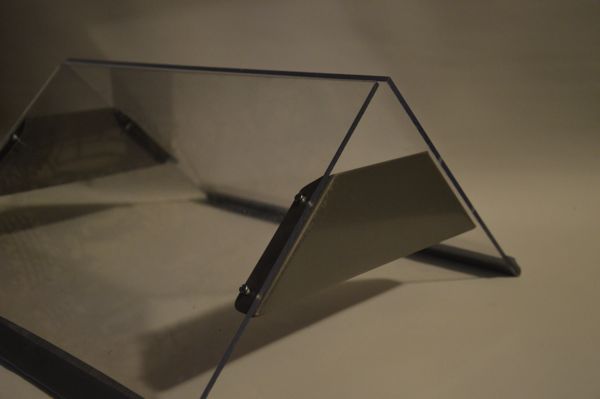
bookscanner - Part 1
I planned to build a book-scanner for a long time and finally managed to elevate the project out of the planning stage :-)
Here I proudly present you the first part of my bookscanner. I used a sheet of plexiglass, which I cut in half using a dremel. Then I mounted the two parts in a 90 deg angle using the mounting brackets of an old ikea bookshelf (cant remeber it´s name)