Day 30 of 30DaysOfCreativity - RadioPI interface module
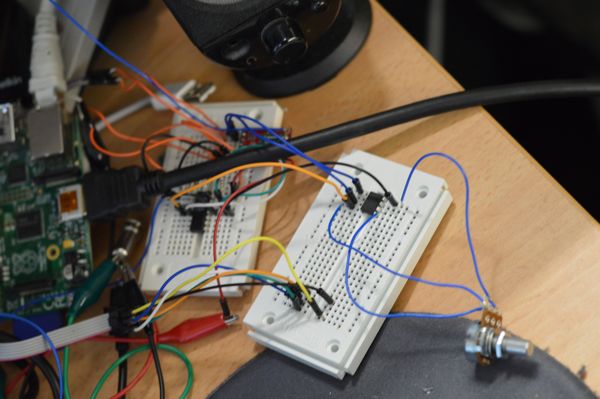
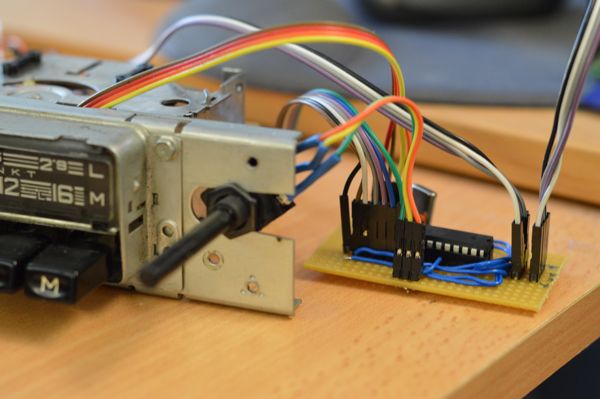
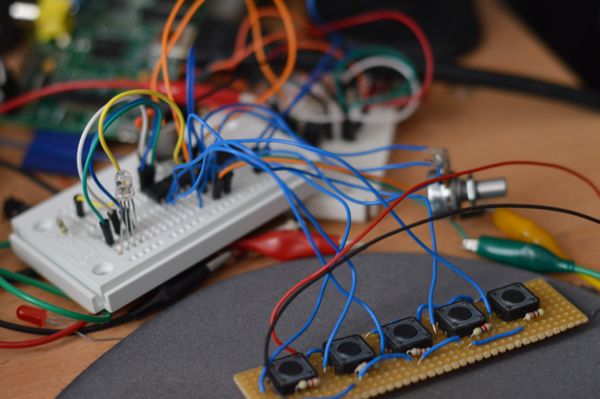
Today I finished the interface module for my raspberry pi based retro car radio. The module interfaces the buttons, the variable resistor and a RGB-led using an ATMega 328p running an arduino firmware.
This is my day 30 project for 30daysOfCreativity but I think I will need to extend my 30 days a bit so I can finish this project :-)
Day 29 of 30daysOfCreativity - Shapes
I have been drawing shapes for my Day 29 project for 30dayOfCreativity

Day 28 of 30daysofcreativity - testing the radiopi software
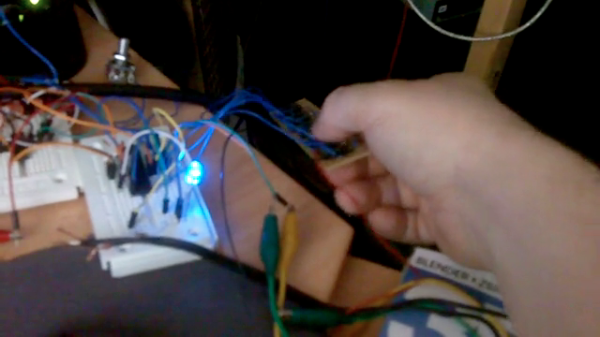
today I started to write and test the software for my raspberry pi and arduino based retro car radio. Here is a short video that shows how the switching of the stations works. There are 4 slots for the stations the 5th slot turns on the airplay mode
Day 27 of 30daysofcreativity - testing the amp module
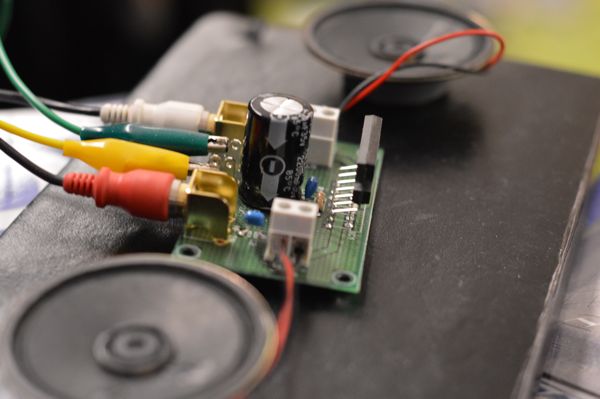
Today I tested the amplifier module for the raspberry pi based radio. Now I need to write the software for controlling the radio using the buttons and create circuit boards for the modules that live currently on breadboards
Day 26 of 30DaysOfCreativity - prototyping the controls
Today I hooked up the RGB led, the buttons and the potentionmeter to my breadboard arduino. I run the ATMega328P with a 20Mhz crystal and 3.3V which works pretty well. All my problems with I2C stability have disappeared now. The potentiometer is hooked to A0, the buttons are on D9 to D14 and the RGB led is connected to D6, D7 and D8. If the I2C master sends 1,2 or 3 the led color is changed, otherwise the slave sends the value of the potentiometer and the state of the buttons.
Day 25 of 30daysOfCreativity - a processing noisestar
My Day 25 project for 30daysofcreativity.com is a processing sketch that draws a star using the noise() method
click on the sketch to start it or to download the sourcecode
Day 24 of 30DaysOfCreativity - a breadboard arduino
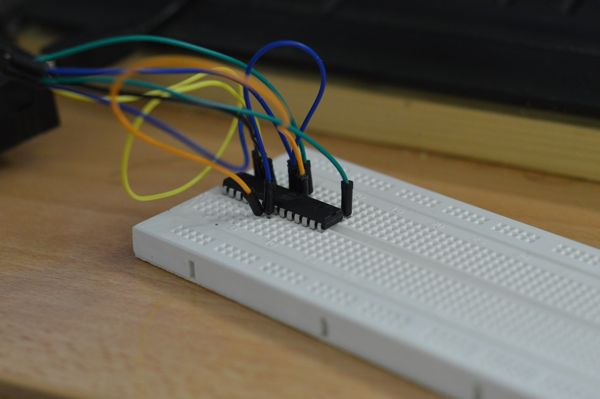
Originally I planned to interface the hardware of the blaupunkt car radio from the 60ties using an attiny85 and an attiny2313 talking to the raspberry pi via i2c. But unfortunately this setup seems to be very unstable at the moment and I can´t get the i2c slaves to work properly. So I build a breadboard arduino today. I will try to hook the buttons, RGB-leds and the variable resistor and add a new i2c interface tomorrow.
So I have a Raspberry PI, an Arduino, some 3D printed parts, custom electronics, an interface to Apple iDevices, a retro car radio housing, .... hmmmmmmmm - Have I forgotten something?
Day 22 of 30daysOfCreativity - learning to play the ukulele
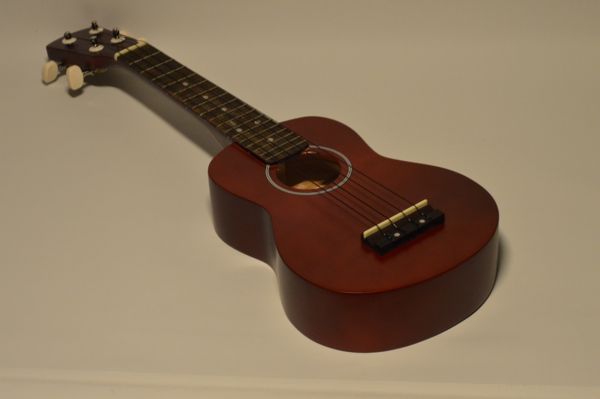
My todays project for 30daysofcreativity was to learn how to play an ukulele. For the sake of all my readers hearing I did´t record any of my trials but I made a photo of my ukulele instead :-)
Day 19 of 30DaysOfCreativity - RGB led for the Raspberry PI based Radio
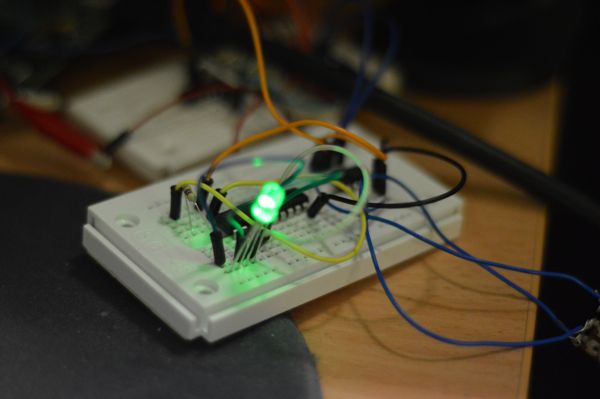
Today I worked on the RGB led that is going to replace the small lamp that lights the display of my rapspberry pi based car radio for cheri´s VW type 3 wilson
I used an attiny 2313 to control the led. I will interface the microcontroller with I2C and connect the 5 buttons tomorrow
this is my day 19 project for 30daysOfCreativity
Day 18 of 30daysOfCreativity - Reading analog values on a PI using an ATTiny45
For my Raspberry PI based car-radio that lives in the housing of a blaupunkt radio from the sixties I needed to interface a variable resistor from my pi. Unfortunately the rapsberry pi has no ADC for the GPIO pins so I added a small ATTiny running the arduino-tiny firmware to read the analog values. The ATTiny is programmed as a I2C slave and is accessed in the same way as the radio part of the project.
you can find a tutorial on how to install and run the arduino-tiny firmware here
and you can find the I2C slave library for the attiny chips here
this is my day 18 project for 30daysofcreativity
