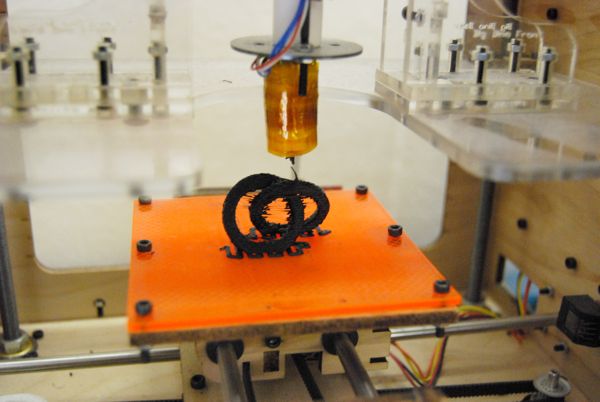
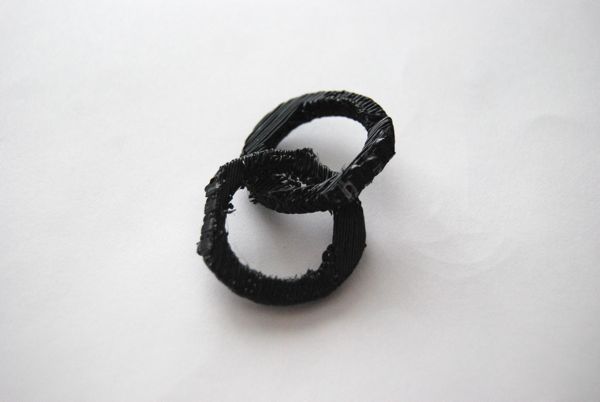
3D-Printed interlocked rings
Today i printed some interlocked rings on my makerbot. I used openscad to generate the stl file. The two rings are standing in an angle of 60 degrees and don't touch each other
click here to download the stl file or here for the openscad source file.
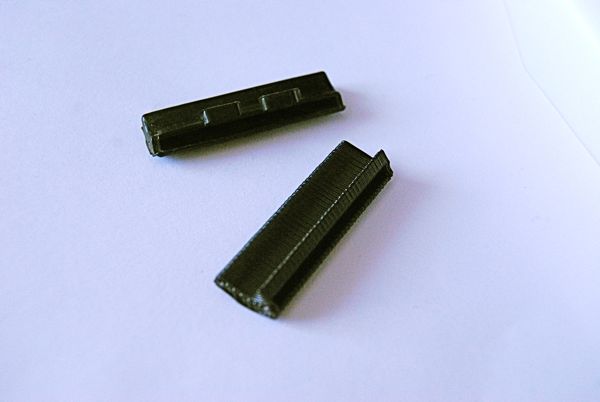
Oldtimer Replacement Part made with 3D-Printer
A friend of mine is currently renovating his VW-Oldtimer. For one of the windows two little plastic parts are needed, but he could only get one :-/
so i designed a replacement part in openscad and printed it on the makerbot
there is the stl and the openscad file
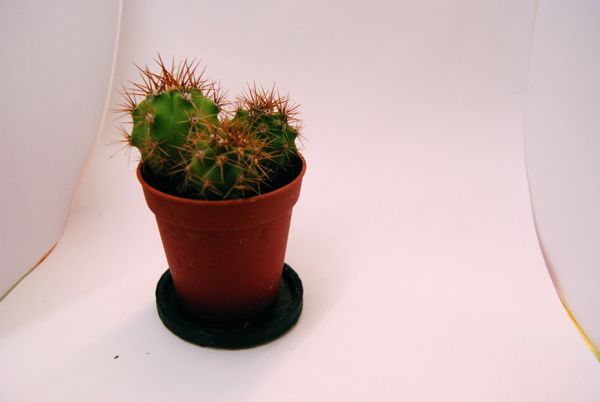
Printed Flower Pot Saucer
Last Friday I got 20 little cacti, but I had no matching pot saucers. So i started my 3d Printer and made some.
click here to download the stl file or click here to download the openscad file.
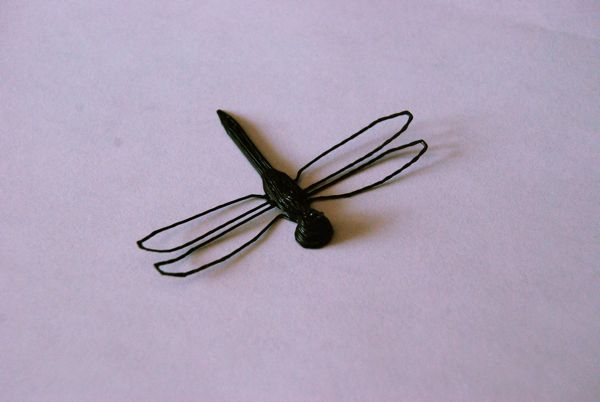
3D-Printed Dragonfly
I just printed a little dragonfly on my makerbot. the body is ca 4cm long
click here to download the stl file
Generating 3D Objects from Heightfields
Back in the old days, when I was a basic hacking teenager, the state of the art technique for getting awsome 3D Graphics on the atari-screen was rendering triangles based on a grayscale bitmap - aka heightfield.
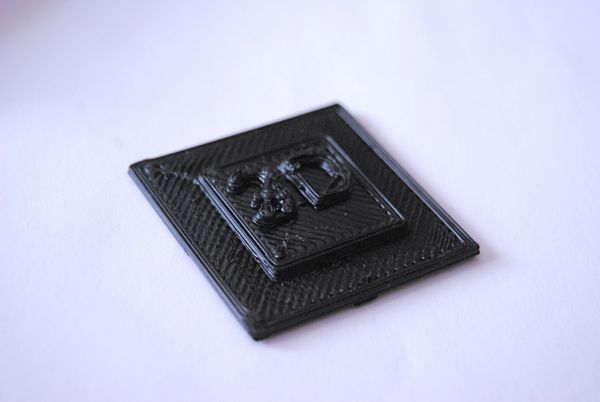
I reanimated this knowledge to generate a 3D object from such a heightfield. so in fact this blog article shows how to take something like this
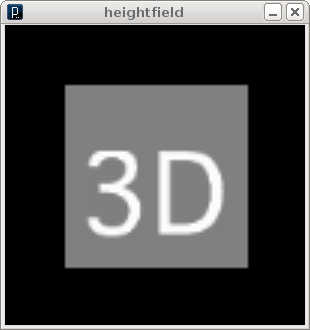
and turn it into something like this.
Robo-Necklace
I designed and printed a robo necklace
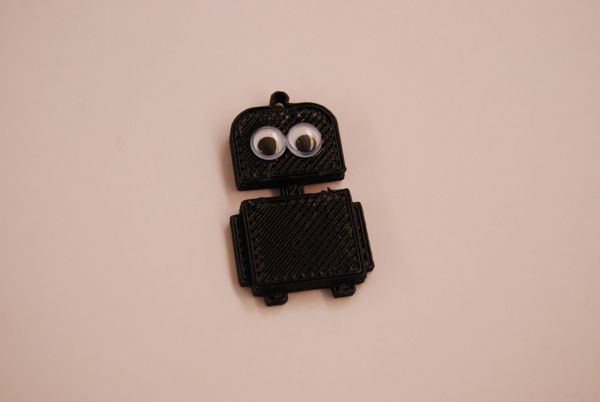
if you want to print one yourself, download the stl file or fetch the openscad and the dxf file. then stick on some moving eyes
it's licenced under a creative commons share alike licence
read more ...Printed Processing sketch
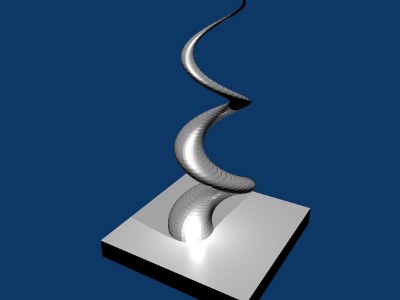
I just printed the first stl file that i generated using a processing sketch.
I used the unlekkerlib to export a stl file from a sketch that generates simple 3d spiral, used blender to add a socket and printed it on my makerbot. Skeinforge complained about some invalid triangles, but beside that it worked surprisingly well.
This is what it looks like in blender
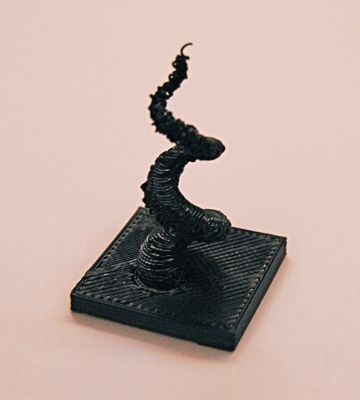
and this is what the makerbot made of it
and this is the processing-sketch i used to generated the spiral
import unlekker.data.*;

void setup() {
  size(300,300,P3D);
  noLoop();
}

void draw() {
  translate(width/2,height/2);
  background(0);
  fill(255);
  lights();
  noStroke();
  //stroke(255);
  beginRaw("unlekker.data.STL","guru.stl");
  beginShape(QUAD_STRIP);
  for( int i =0; i < 100; i++ ) {
    for(int a=0; a < 36; a++) {
      float r = 10 - map(i,0,100,0,10);
      vertex( r * sin( radians( a * 10 )) + sin(radians(i*10)) * 10,
              -i*1,
              r * cos(radians(a*10)) + cos(radians(i*10)) * 10);

      int j = i+1;
      vertex( r * sin( radians( a * 10 )) + sin(radians(j*10)) * 10,
              -j*1,
              r * cos(radians(a*10)) + cos(radians(j*10)) * 10);
    }
  }
  endShape();
  endRaw();
}
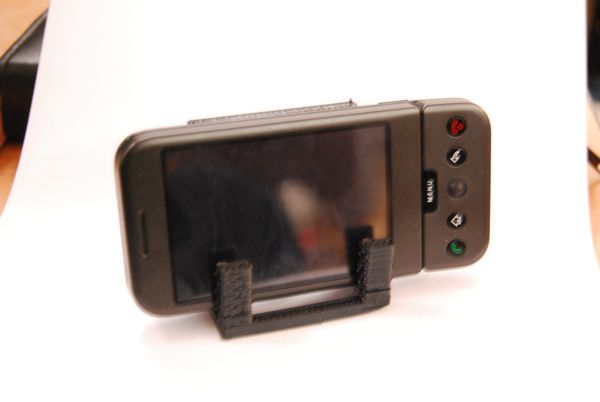
printed phonestand
I designed a simple stand for my phone unsing openscad. click here to download the stl file or click here for the openscad script
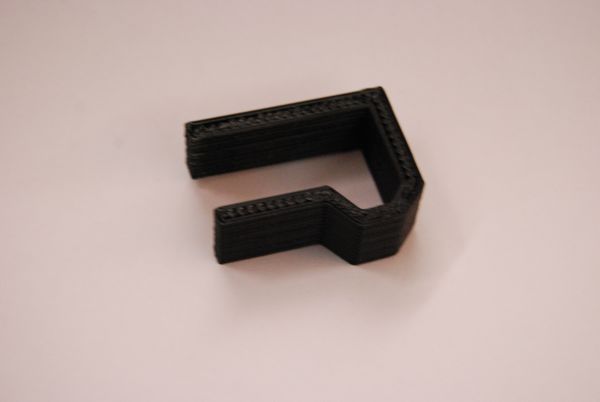
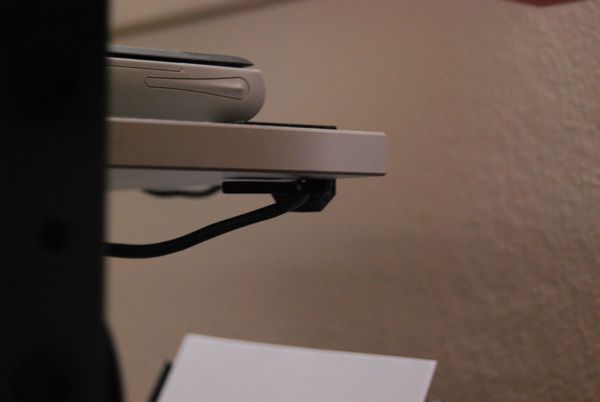
printed cableclip
I designed a simple cableclip that fits on my desk unsing blender. click here to download the stl file
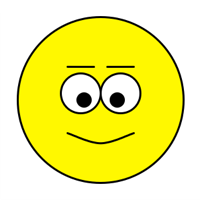
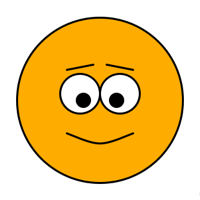
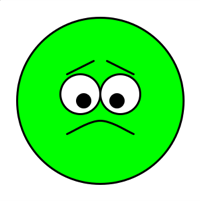
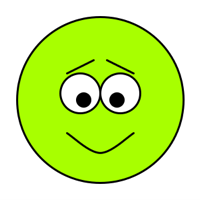
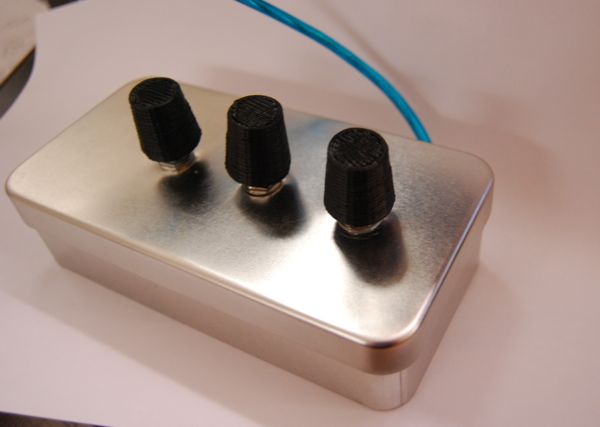
Smiley-O-Mat
I just finished my Smiley-O-Mat - it's a tin-box with 3 turning knobs that allows you to controll the appearence of a smiley. With 3 simple turns I can now tell your co-workers, familymembers, ... how you feel at the moment and if it is wise to talk to me right now :-)
The controllerbox is made with an arduino, the smiley generator is written in processing, and the turning knobs are printed on my makerbot
This is what the controller looks like
and here are some smileys i generated